-
Extend Reality Composer Pro 3 functionality with Xcode
Discover how Reality Composer Pro 3 empowers you to build bigger, more ambitious spatial projects. Learn about creating project-specific plugins that let you edit custom components, run custom systems, and build your own ScriptGraph nodes—giving you complete control over your spatial authoring workflow.
Chapters
- 0:00 - Introduction
- 2:00 - Extending the editor
- 4:51 - Custom components and systems
- 10:32 - Controlling the water surface
- 13:19 - Custom animation actions
- 17:12 - Custom Script Graph nodes
- 21:16 - Next steps
Resources
Related Videos
WWDC26
-
Search this video…
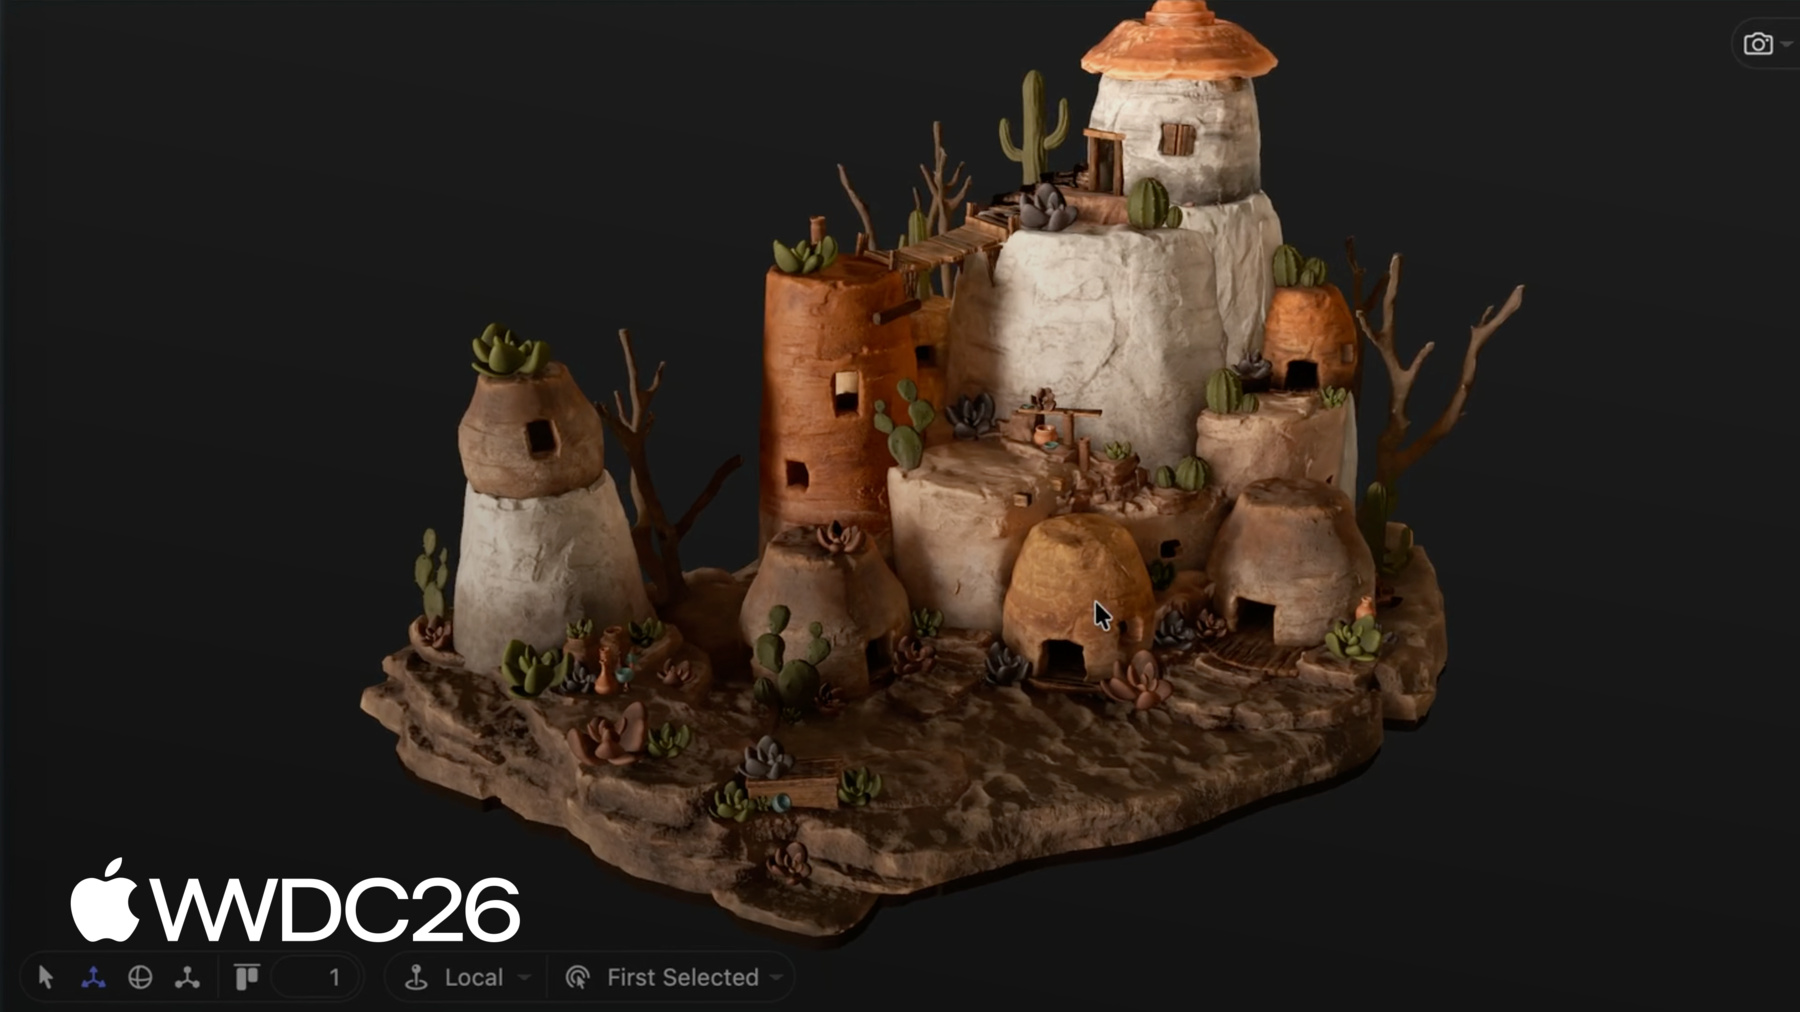
Hi, I'm Niklas. In this session I'll show how you can extend Reality Composer Pro with plugi-ns to make it possible for artists and content creators to work with assets directly in the editor, iterate quickly, and build lots of interesting 3D apps and games. This is a feature that will be available later this year. This is Reality Composer Pro 3. The latest version of Apple's game and 3D content editor for RealityKit. This updated version comes with support for larger scenes, artist friendly workflows for quick iterations over content, and the ability to preview scenes in headset. You can learn more about how to use Reality Composer Pro 3 in the session, "Iterate your spatial scenes faster with Reality Composer Pro 3." Another great session to check out is: "Design no-code games with Reality Composer Pro 3." That session shows how to build a game without writing any code by using Reality Composer Pro's visual scripting tool Script Graph. In this presentation, I want to show what you can do with code. I'll show how you can build plug-ins in Xcode that expose your project specific content to Reality Composer Pro 3. Your custom components will appear inside the editor, where they can be tweaked by artists and designers. For example, artists can change the water level or the rotation speed and see the cauldron react in real time, without having to build and deploy an app. I'll first go through the general mechanism for extending the editor. Then, I'll show how to use that to get custom components and custom systems running in the editor. I'll also show how you can add your own custom animations to the sequencer timeline. And finally, I'll show how to create your own custom nodes for the Script Graph. I'll start by looking at the general mechanism for extending Reality Composer Pro and how that works when you're working on a team. I will be working in the Chaparral Village game. This game was made by a team of developers, artists, and designers. The game has both a Reality Composer Pro project and an Xcode project. The editor project is typically used by the artists and designers to create the content of your experience, while the Xcode project is used by engineers to build the final app as well as the plugin that lets artists create custom data in the editor. The Reality Composer Pro project and the Xcode project are linked together so that you can launch the app directly from within the editor. You can setup this linking for your own projects using the simulation bar at the top of the window. The editor project and the Xcode project live together in the same git repository. Artists and engineers make changes locally and then commit and push to share them with the rest of the team. When you import a file into Reality Composer Pro 3, it gets converted to an internal data format and saved on disk as JSON files. You can use git's built-in tools to merge your changes, but the editor also comes with a custom merge tool that can merge files with fewer conflicts than standard git merge. To get data from Reality Composer Pro 3 into an app, you export it as a Reality File, the serialization format for RealityKit. Here's an illustration of how all of this fits together. The Xcode project is used to build the final game app as well as the plug-in framework for Reality Composer Pro 3. Reality Composer Pro 3 is used to set up the different 3D scenes and objects in the game. The RCPCustomComponents.framework makes the components and systems that the developers have created available in the editor so that the artists and level designers can edit them, see how they work, and improve the content interactively. Finally, the scenes created in Reality Composer Pro 3 are exported to a Reality File which is linked into and loaded by the app. When the code is updated, the developers build a new plug-in framework for everybody on the team to use as well as a new app. When the content is changed, a new reality file is exported to test in the final app. The Xcode project has been set up with two different schemas. ChaparralVillage which builds the actual app and RCPCustomComponents which builds the plugin for Reality Composer Pro 3. All the custom components and custom systems in the project are shared between these two schemas. Let's see how that works. I'll use the plug-in system to create a custom component and expose it to Reality Composer Pro. I want to work with the artists to create an effect for this cauldron. In the game, the cauldron will be used for mixing potions and I want to be able to control the water level so that it can go up and down as ingredients are added. I also want to add a swirling effect, so that you can see the water rotating when the potions are mixed, but let's start with just setting the water level. I could do this with a Script Graph. It would look something like this. On an update, event I get the water surface entity, and move it to a specific position. But if I wanted to do something more advanced, it might make sense to use a custom component instead of a Script Graph. Script Graphs and custom Swift code can do similar things and often it's a personal preference what you want to use. But really big Script Graphs can be hard to maintain, so that might be a good reason to switch to code. Code also lets you interact with other Apple APIs that are not available in Script Graph such as SwiftUI. For the cauldron, I ultimately want the water level to tie into other systems, such as ingredients floating on the surface, so writing code makes sense. To do this, I start with creating a simple component to hold the water level of the cauldron. It has a single property that stores the water level. In addition to the Component protocol, the Cauldron also implements Codable. This is needed to be able to represent this Component in Reality Composer Pro 3 and serialize it to Reality Files. For more advanced components that have runtime properties that shouldn't show up in the editor, it might also make sense to implement CodingKeys, but for this simple component we just want to serialize all properties, so that's not needed. Next, I'll create a custom system for setting the water level. In the system update I find the entities that have the Cauldron component. Then, I look for the water mesh child entity and adjust the position of the water mesh based on the water level set in the Cauldron component. After that, I need to make sure that Reality Composer Pro 3 can use my custom component and the corresponding system. To do this, I need to create a plugin class that implements the RealityComposerProPlugin protocol. This protocol comes from the RealityComposerPro Swift package. This package is automatically added to your Xcode project when you link it in the editor using the Run With Xcode option in the simulation toolbar. In the setup method of this class, I use the context I get from Reality Composer Pro to register my components and systems. This makes these components and systems usable by the editor. I also need to make sure that Reality Composer Pro 3 can create the plug-in. I do that by implementing a createRealityComposerProPlugin() function that creates and returns my plug-in. You'll notice that this function returns the class as a raw pointer, this is because I need this function to be exported in the DLL interface. I also need to mark it as a C function and give it an exported name so that it can be found by the plug-in loader. Let's see how all of this works in practice. First, I'll create the Cauldron component with the waterLevel property.
Then, I'll add the system that positions the water plane based on the property's value.
Finally, let's register the component and the system with Reality Composer Pro.
Now, I can build the plug-in scheme to create the dynamic library.
Now I can open the project in the editor. Since this project has plug-ins, Reality Composer Pro asks me if I trust it. I select Trust to load the plug-ins.
Once I've accepted to load the plug-in, the editor will show me the component that was imported. If I go to the project's build settings, the imported components and systems show up there too. I can also use this settings panel to specify a custom plug-in directory.
The imported components are found in the Custom Components folder in the project. Now that I've imported the component and Reality Composer Pro 3 knows about it, I can add it to my Cauldron entity.
As I change the water level property in the editor, you can see the surface reacting. My custom system is running inside the editor through the plug-in mechanism and changing the water level based on the property value. Artists and designers can use this to fine tune properties in the editor without having to rebuild and relaunch the app.
If I want to debug my system, I can set a breakpoint in the code and attach to the editor application.
When it runs my code, it will stop in the Xcode debugger, and I can check my logic.
Now that I have the basic water surface working, I want to take it to the next level by adding a swirling effect. As the player stirs the cauldron to mix the potion I want the surface to bend into a vortex shape. To change the surface shape, a tech artist has built this vortex shader using the Shader Graph system in Reality Composer Pro 3. The Shader Graph has parameters for things like rotation speed and it will create the vortex shape based on those parameters. I want to be able to control these parameters from my custom component. To do that, I start by adding some properties to guide the shape of the vortex. And then, I need to modify my cauldron system from before so that it propagates these parameters to the Shader Graph. First, I retrieve the Shader Graph material. Then, I use a helper function to compute the shape of the water surface based on the Cauldron properties. I use the computed shape to set the Shader Graph parameters. And finally, I assign this material back on the model. Let's see how this works in practice. First, I'll add my new properties to the Cauldron.
Then, I'll write a function to compute the water surface.
Finally, I'll update the system so that it sets the shader parameters and then rebuild the plug-in.
Whenever I rebuild the plug-in, I need to restart Reality Composer Pro to get the changes in. Reality Composer Pro will again ask me if I trust the project. If you don't want to see this dialog anymore you can check the "Don't ask again" checkbox.
Next, a dialog will appear that shows me the changes to my custom components. These changes all look good to me, so I'll accept them.
If I go back to the Cauldron component, I will see the new properties there.
Let me set it up with some default values for the water level and vortex coefficient.
Now, let me try some different values for the rotation speed. You can see that as I increase the rotation speed, the vortex gets deeper.
Next, I want to talk about how to use plug-ins in the animation system. The animation sequencer supports custom animation actions that can be defined in the plugin and then added to the sequencer timeline. I want to create a custom action that sets the water level of the cauldron. To do this, I need to implement the EntityAction protocol. And to be saved in a Reality File, it needs to be Codable. My action takes two parameters: a start level and an end level for the water surface so that it can animate it between these two values. For the EntityAction protocol I also need to return the animated value type as a Transform. This is needed to access my entity in the animation executor. I also to need to write the code that executes the action and updates the water level when the animation runs. To do this, I create a static subscribe() function in my entity action that I will call from my plug-in loading code. In this function, I use the subscribe method in EntityAction to subscribe to the .updated event that gets called when RealityKit runs animations. I will use this to perform my custom animation action. I'll get the elapsed animation time as a normalized number between 0 and 1. Then I compute the current water level by using the normalized time to interpolate between the start and end water levels. I get the cauldron component from the entity and update its water level. And finally, I set the modified cauldron component back on the entity. The final piece of the puzzle is to register this custom animation with Reality Composer Pro 3. Just as with custom components and custom systems, I need to register the action with the context for the editor to be aware of it. I also need to call the subscribe function I created earlier so that the action executes on animation updates. Let's see how this works in practice. First, I will define my custom entity action.
Then, I'll add the code that implements this action.
Finally, I'll register this action with the editor and rebuild the plug-in.
When I restart the editor and open the project it will show me that a new action was imported.
Let's create an animation that uses this action. First, I'll create a new sequence in the editor.
Then, I'll open the sequence and set the root entity of my animation to be a scene that contains the cauldron. I have prepared a scene called CauldronWorld for this purpose.
Next, I'll add an animation track to the sequence and pick the cauldron as the entity I want to use for this track.
Now I can drag the SetWaterLevelAction from the left panel into the timeline of my track to create an action that runs on the cauldron. I'll expand this action in the inspector so that I can set its parameters: the start and stop values for the cauldron's water level. I'll set the start value to 0.3 and the stop value to 0.5. Now, I can play back the animation and see the water level change based on my custom action. Artists and designers can use Script Graphs to create gameplay and interactivity in Reality Composer Pro 3 projects without having to write any code. The built in script nodes go a long way but if you want to take this to the next level you can use a plug-in to add custom nodes that the designers can make use of in their Script Graphs. The quickest way to expose a custom component to Script Graphs is to use the @Scriptable macro. For this, I first need to import the RealityKitScripting and RealityKitScriptingMacros modules. This is where this macro is defined. Just as the RealityComposerPro Swift package, this package is automatically set up for you when you create your Xcode project from within Reality Composer Pro. Then, I simply tag my component struct with the @Scriptable macro. This will expand to a schema variable that describes the component so that I can register it with the scripting system. Like all other registrations, this happens in the setup function for the plug-in. Scripting modules need to be registered on the main thread. I first create a scripting configuration for my project. In the initializer for the configuration, I need to return a list of all my scripting modules. I'll create a single module that holds my Cauldron schema. This schema is generated by the @Scriptable macro. And then I'll add my configuration to RealityKitScripting. Let's see how this works in practice. First, I'll import the scripting modules and add the @Scriptable macro to the Cauldron component.
Then, I'll add the code for registering the scripting module with the editor and rebuild the plug-in.
Let's create a Script Graph that makes use of the new custom nodes for the Cauldron component. I'll start by adding a Scripting component to my Cauldron entity.
I double click the new component to open the Script Graph editor. Let's make it so that when the user presses a key on the keyboard, the water level changes. I'll start by adding an update node. This node fires every time the scene updates.
Next, I'll add an If node and hook it up to a keypress so that the node fires whenever the key is pressed.
I'll hook up the true connector from the If node to set the water level of the cauldron.
Now, when the "a" key is pressed, the water level of the cauldron will be set to 0.25. I'll hook up another key to set a different water level. To do that, let me just copy and paste the whole graph.
Then, in the copy, I'll change the key to "z" and the water level to 0.5.
I can test this out by opening a simulation view. As I press the "a" and "z" keys the water level goes up and down.
That was a lot of ground I covered in this session. I showed you how to create some simple plug-ins using Xcode and extend the functionality of the editor to work with your apps data and even run your code inside the editor. To learn more, I suggest checking out the "Explore advances in RealityKit" session to find out about the latest additions to RealityKit. I also recommend going through the "Supercharge your spatial workflows with Reality Composer Pro 3" session that covers how to improve your productivity with the editor. I look forward to see what amazing experiences you will create with the new Reality Composer Pro 3. Thanks for watching!
-
-
6:08 - Cauldron component
// Add a component to represent the water level import RealityKit public struct Cauldron: Component, Codable { public var waterLevel: Float enum CodingKeys: CodingKey { case waterLevel } } -
6:42 - CauldronSystem
// Add a system to control the water level import RealityKit public struct CauldronSystem: System { let query = EntityComponentQuery(Cauldron.self) public init(scene: Scene) {} public func update(context: SceneUpdateContext) { for (entity, cauldron) in context.entities(matching: query) { guard let water = entity.findEntity(named: "Cauldron_Water_mesh") else { continue } water.setPosition(SIMD3<Float>(0, 1, 0) * cauldron.waterLevel, relativeTo: entity) } } } -
7:00 - RCPCustomComponentsPlugin
// Make sure that Reality Composer Pro 3 knows about the Cauldron and CauldronSystem import RealityComposerPro final class RCPCustomComponentsPlugin: RealityComposerProPlugin { public func setup(context: any RealityComposerProContext) { context.registerComponent(Cauldron.self) context.registerSystem(CauldronSystem.self) } } @_cdecl("createRealityComposerProPlugin") public func createRealityComposerProPlugin() -> UnsafeMutableRawPointer { return RCPCustomComponentsPlugin().passRetained() } -
10:49 - Cauldron component with vortex properties
// Properties to control water surface import RealityKit public struct Cauldron: Component, Codable { public var waterLevel: Float public var rotationSpeed: Float public var minWaterLevel: Float public var maxWaterLevel: Float public var vortexCoeff: Float } -
11:05 - CauldronSystem update with ShaderGraph
public func update(context: SceneUpdateContext) { for (entity, cauldron) in context.entities(matching: query) { guard let water = entity.findEntity(named: "Cauldron_Water_mesh") else { continue } water.setPosition(SIMD3<Float>(0, 1, 0) * cauldron.waterLevel, relativeTo: entity) guard var model = water.components[ModelComponent.self] else { continue } guard var mat = model.materials.first as? ShaderGraphMaterial else { continue } let surface = computeSurface(cauldron: cauldron) try? mat.setParameter(name: "Level Radius", value: .float(surface.levelRadius)) try? mat.setParameter(name: "Lowest Point", value: .float(cauldron.waterLevel - surface.lowestPoint)) try? mat.setParameter(name: "Height Change", value: .float(surface.heightChange)) try? mat.setParameter(name: "Level Coeff", value: .float(surface.levelCoeff)) try? mat.setParameter(name: "Is Level", value: .bool(surface.isLevel)) model.materials[0] = mat water.components.set(model) } } -
13:25 - SetWaterLevelAction
// Custom action for setting the water level of the Cauldron import RealityKit public struct SetWaterLevelAction: EntityAction, Codable { // Parameters for the action public let startWaterLevel: Float public let endWaterLevel: Float // Required by EntityAction protocol public var animatedValueType: (any AnimatableData.Type)? { Transform.self } } -
14:05 - SetWaterLevelAction subscribe
extension SetWaterLevelAction { static func subscribe() { Task { @MainActor in SetWaterLevelAction.subscribe(to: .updated) { event in let normalizedTime = (event.playbackController.time - event.startTime) / event.duration let action = event.action let currentLevel = action.startWaterLevel + Float(normalizedTime) * (action.endWaterLevel - action.startWaterLevel) guard let entity = event.targetEntity else { return } guard var cauldron = entity.components[Cauldron.self] else { return } cauldron.waterLevel = currentLevel entity.components.set(cauldron) } } } } -
14:56 - RCPCustomComponentsPlugin with action
// Make sure that Reality Composer Pro 3 knows about the SetWaterLevelAction import RealityComposerPro final class RCPCustomComponentsPlugin: RealityComposerProPlugin { public func setup(context: any RealityComposerProContext) { context.registerComponent(Cauldron.self) context.registerSystem(CauldronSystem.self) context.registerAction(SetWaterLevelAction.self) SetWaterLevelAction.subscribe() } } @_cdecl("createRealityComposerProPlugin") public func createRealityComposerProPlugin() -> UnsafeMutableRawPointer { return RCPCustomComponentsPlugin().passRetained() } -
17:32 - Cauldron with @Scriptable macro
// Expose Cauldron to Script Graphs import RealityKit import RealityKitScripting import RealityKitScriptingMacros @Scriptable public struct Cauldron: Component, Codable { public var waterLevel: Float public var rotationSpeed: Float public var minWaterLevel: Float public var maxWaterLevel: Float public var vortexCoeff: Float } -
18:08 - Register scripting module
// Register scripting module

public func setup(context: any RealityComposerProContext) {
    context.registerComponent(Cauldron.self)
    context.registerSystem(CauldronSystem.self)

    context.registerAction(SetWaterLevelAction.self)
    SetWaterLevelAction.subscribe()

    Task { @MainActor in
        let config = RKS.Configuration(id: "ChaparralVillage")
            .onInitialize { _ in
            [
                Module("ChaparralVillage") {
                    Cauldron.SchemaProvider.schema
                }
            ]
        }
        try! RKS.addConfiguration(config)
    }
}
-
-
- 0:00 - Introduction
An overview of the Reality Composer Pro 3 plugin system, showing how Xcode and the editor share a project to let engineers and artists collaborate — with custom components, systems, animation actions, and Script Graph nodes all running live inside the editor.
- 2:00 - Extending the editor
Learn how the Reality Composer Pro 3 plugin system works: how the editor and Xcode share a single git repository, how custom Swift code is compiled into a dynamic library, and how the editor loads and trusts plugins at runtime.
- 4:51 - Custom components and systems
Build a Cauldron component and CauldronSystem using RealityKit, expose them to the editor via a RealityComposerProPlugin, and see the water level property update in real time as artists adjust values in the inspector.
- 10:32 - Controlling the water surface
Extend the Cauldron component with vortex shader properties and update the system to drive a ShaderGraphMaterial at runtime, enabling artists to control vortex depth and rotation speed directly from the Reality Composer Pro 3 inspector.
- 13:19 - Custom animation actions
Implement the EntityAction protocol to create a SetWaterLevelAction that animates the cauldron water level on the sequencer timeline, subscribe to animation update events to interpolate the level, and register the action with the editor plugin.
- 17:12 - Custom Script Graph nodes
Use the @Scriptable macro to expose a custom component to Reality Composer Pro 3 Script Graphs, register a scripting module in the plugin setup, and see the generated nodes appear in the Script Graph editor for no-code artist workflows.
- 21:16 - Next steps
Recap of the plugin capabilities covered — custom components, systems, animation actions, and Script Graph nodes — with recommendations to explore the Explore Advances in RealityKit and Supercharge Your Spatial Workflows sessions.